Canning Supplies Starter Kit: What You Need and What to Skip
 By Wes Alder ·
Published October 16, 2026 · Last updated October 16, 2026
By Wes Alder ·
Published October 16, 2026 · Last updated October 16, 2026
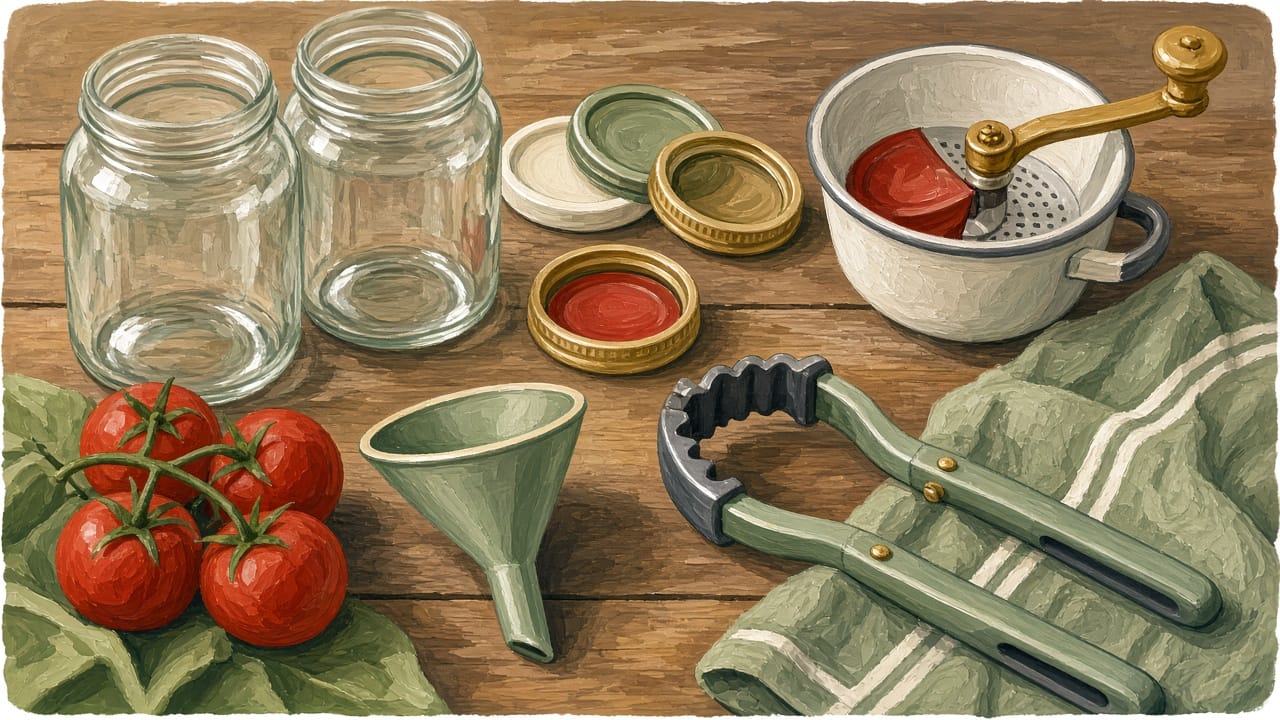
To start canning you need five things: a canner that fits what you want to can, Mason-type jars, new flat lids with screw bands, a jar lifter, and a tested recipe. Almost everything else is optional. Below is the short list, the nice-to-haves, and the stuff I’d leave on the shelf.
The starter kit at a glance
Must-haves first. Why each one is on the list is explained below, and the safety basis is linked in Sources.
A canner that matches your food: a boiling-water canner for high-acid foods, a pressure canner for low-acid foods. I use a boiling-water canner for my own canning.
Mason-type jars + new flat lids + screw bands. Jars and bands are reusable; flat lids are not. I use half-pints and pints most.
A basic canning tool set: jar lifter, wide funnel, headspace/bubble tool and lid wand, usually sold together. I use the jar lifter and wide-mouth funnel every time; the bubble tool and lid wand are optional extras I don't use regularly.
Affiliate links: I may earn a commission at no extra cost to you.
Where I'm coming from
I've been canning for 5 to 10 years. I grow vegetables in raised beds, and most of what I put up is tomatoes, salsa, pickles, jams and jellies, in half-pint and pint jars. My first batches taught me two things: fill jars properly, and tighten bands fingertip-tight, not too loose and not too tight.
Safety rules here come from USDA's Complete Guide to Home Canning as published by the National Center for Home Food Preservation (NCHFP), linked at the end. I'm a home canner, not a food-safety professional.
Step one: decide what you’ll can
Your first purchase depends on the food, not the brand.
- High-acid foods (jam, jelly, most fruit, pickles, relish, and tomatoes with added acid): a boiling-water canner is enough.
- Low-acid foods (plain vegetables like green beans and corn, meat, poultry, stock, soups): you need a pressure canner. There’s no safe shortcut here.
If you’re not sure which camp your garden falls in, read Pressure Canner vs Water Bath Canner: Which Do You Actually Need? first. If you already know you need a pressure canner, my picks are in Best Pressure Canners for Beginners.
The must-haves
1. A canner
Boiling-water canner. NCHFP says it must be deep enough that at least 1 inch of briskly boiling water covers the jar tops during processing (2 inches for processes over 30 minutes), with a rack in the bottom. On an electric range it needs a flat bottom and should be no more than 4 inches wider than the burner.
Can a big stockpot work? Yes, if it’s deep enough for that water level plus room to boil, and you put a rack in the bottom so jars don’t sit on the pot floor. Measure before you buy a dedicated canner.
Pressure canner. Needed for anything low-acid. A 23-quart model can often double as a boiling-water canner for quarts, which saves buying two pots. See my pressure canner picks. I’ve used a pressure canner in the past, but I haven’t tried the models in that article; those picks are research-based.
2. Mason-type jars
NCHFP calls regular and wide-mouth Mason-type, threaded home-canning jars the best choice. They come in half-pint, pint, 1½-pint, quart and half-gallon sizes. Wide-mouth jars (about 3-inch openings) are easier to fill and empty than regular-mouth (about 2⅜ inches).
What to buy first: a case of pints and a case of half-pints covers most beginner recipes. Quarts make sense once you’re canning whole tomatoes, beans or fruit in volume. Half-gallons are only for very acidic juices.
Skip old wire-bail jars with glass lids and zinc caps for canning (fine for dry storage). Re-used mayonnaise or salad-dressing jars are also a poor bet: NCHFP says to expect more seal failures and breakage, and not to use them in a pressure canner at all.
3. New flat lids (and screw bands)
This is the one thing you buy fresh every time. Flat metal lids are single-use. Screw bands can be reused for years if they aren’t bent or rusty.
- Buy only as many lids as you’ll use in a year. NCHFP says unused lid gaskets work well for at least 5 years from manufacture; older ones may not seal.
- Follow the lid box’s directions for preparing lids. Manufacturers have changed these over the years, and many current lids don’t need to be heated first.
- Bands go on fingertip tight, not cranked down. Take them off stored jars once the jars have cooled and sealed.
4. A jar lifter
The one tool I’d never skip. Hot, wet jars are slippery, and NCHFP says to grip below the neck and keep jars upright, because tilting can slop food onto the sealing edge. Kitchen tongs aren’t a safe substitute.
5. A tested recipe
Free, and the most important item on the list. Use recipes from USDA/NCHFP, your state’s Extension service, or the canner and lid makers’ own tested guides, and don’t change ingredients, jar size or processing time. The full USDA guide is free online; a printed copy is handy at the stove.
The nice-to-haves (cheap, and worth it)
These usually come together in a 5- to 6-piece canning tool set:
- Wide-mouth canning funnel. Keeps food off the jar rim, which matters because a dirty rim can make a seal fail. I use one every time.
- Food mill or strainer. For tomato sauce and salsa bases, it separates skins and seeds. I use mine every time I can tomatoes.
- Headspace / bubble tool. A flat plastic stick for freeing air bubbles and measuring headspace. NCHFP says to use plastic, not metal, for removing bubbles. I don’t use one regularly, so I’d call it optional.
- Lid wand. A magnet on a stick for lifting lids. Handy, not essential, and not something I use regularly.
- Timer. Your phone works fine.
- Clean towels and a cooling spot. Jars cool undisturbed on a towel or rack, away from drafts.
- Labels or a marker. Date every jar. For best quality, NCHFP says to can no more than you’ll use in a year and store jars somewhere clean, cool, dark and dry (50 to 70°F).
For acidified tomatoes, add bottled lemon juice labeled “from concentrate” or citric acid to the shopping list, in the amount your tested recipe gives. NCHFP says not to use fresh-squeezed or “not from concentrate” juice, because only juice from concentrate has a guaranteed acidity.
What to skip (or not use for canning)
NCHFP lists these as not recommended:
- Oven, microwave or dishwasher “canning.” Heating filled jars this way doesn’t reliably prevent spoilage.
- Open-kettle canning (filling hot jars and just letting them seal, with no processing).
- “Canning powders.” They don’t replace heat processing.
- “Dry canning” vegetables without the covering liquid in the tested recipe, or heating dry foods in jars in the oven.
- Electric multi-cookers for pressure canning, even ones with a “canning” button. NCHFP doesn’t support USDA processes in them.
And a few I’d skip simply because you don’t need them yet:
- Fancy all-in-one gift kits that bundle a thin pot with tools. Check the pot depth against the 1-inch rule first; you may be better off with a separate canner and a basic tool set.
- A jar wrench for tightening. Extension sources warn it’s easy to over-tighten bands before processing.
- Steam canners, for now. NCHFP says research now supports them for many products if certain critical controls are followed, but that advice isn’t in the USDA guide yet. I’d learn on a boiling-water canner first.
Do I need to sterilize jars?
Not always. Per NCHFP: jars must be sterilized (boiled 10 minutes, plus 1 minute per 1,000 feet above 1,000 feet) only for jams, jellies and pickles processed less than 10 minutes. Jars for pressure canning, or for foods processed 10 minutes or longer in a boiling-water canner, just need to be clean and hot. Washing in hot soapy water or a dishwasher cleans jars but doesn’t sterilize them.
Frequently asked questions
What’s the minimum I need to start canning?
For high-acid foods: a deep pot or boiling-water canner with a rack, Mason-type jars, new lids with bands, a jar lifter and a tested recipe. Low-acid foods also require a pressure canner.
Can I reuse canning lids?
Not standard flat metal lids; they’re single-use. Jars and screw bands can be reused as long as they aren’t chipped, bent or rusty.
Are wide-mouth or regular-mouth jars better for beginners?
Wide-mouth jars are easier to fill, empty and clean. Regular-mouth jars are fine for jams, sauces and anything pourable. Many people keep both.
Can I use old jars from a yard sale?
Check every jar for chips or cracks, especially on the rim. NCHFP’s advice is that new jars are a worthwhile investment when starting, since very old jars may break under heat and pressure.
Do I need a pressure canner to start?
Only if you want to can low-acid foods like plain vegetables, meat or stock. Plenty of people start with jam, pickles and acidified tomatoes in a boiling-water canner.
The bottom line
Buy the right canner for your food, a couple of cases of jars, fresh lids, and a basic tool set with a jar lifter. Skip the gimmicks, follow a tested recipe exactly, and you’ve got everything you need for your first batch.
Guidance last checked against NCHFP pages on October 17, 2026. This page will be updated.
Keep reading
- Pressure Canner vs Water Bath Canner: Which Do You Actually Need?
- Best Pressure Canners for Beginners (Honest Picks)
- Best Tomatoes to Grow for Canning in Small Beds
Sources
- NCHFP, Recommended Jars and Lids (from USDA’s Complete Guide to Home Canning, revised 2015).
- NCHFP, How to Use Boiling Water and Pressure Canners.
- NCHFP, Equipment and Methods Not Recommended.
- NCHFP, Sterilization of Empty Jars.
- NCHFP, Plan to can so your summer won’t be a bummer (new jars, one-use lids, basic tools).
- NCHFP, Canning in Electric Multi-Cookers.
- NCHFP, Storing Home Canned Foods and NewsFlash on bottled lemon juice from concentrate.
- UNH Extension, Successful Home Canning Starts with Jars and Lids (lid preparation, reusable lids).
- Clemson HGIC, Canning Tools (jar lifters, funnels, jar wrenches).